An incorrect crank position sensor can lead to issues like misfiring and stalling. Furthermore, its presence can reduce fuel efficiency, so replacing the sensor and wire harness as soon as possible is wise.
An engine with a broken crank position sensor can lead to major engine issues, including check engine lights and poor performance. The solution for these problems is relatively straightforward; all necessary for repair is a multimeter and accessing service manual wiring diagrams.
Remove the Battery
If your car refuses to start or has an engine warning light illuminated, the cause could be a faulty crankshaft position sensor (CKP). Instead of spending hundreds on replacing it, another solution may be available: disconnecting its battery can reset its CKP without starting its engine and reset itself without starting itself back up again – after which reconnect the sensor and see if your car starts!
Understanding how a CKP sensor operates and any potential issues with it is vitally important. This component aids the computer in controlling ignition timing and other metrics relating to the performance of your car, so regular inspections of this part can prevent many issues from arising.
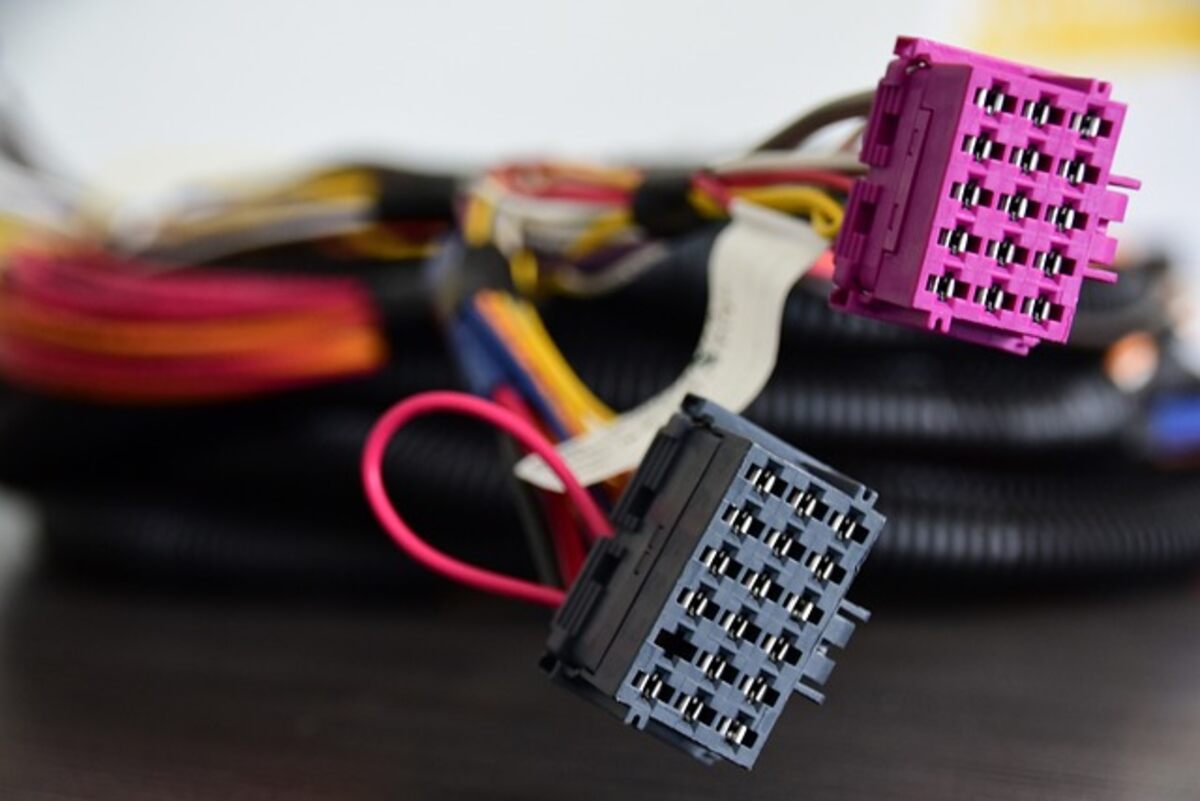
Before beginning to replace a sensor, make sure you are wearing appropriate safety gear. Always disconnect the battery before working on any electrical components – this can prevent short circuits and other accidents. Inspect both wiring harness and sensor for signs of damage; any visible problems should be treated by using heat shrink tubing or electrical tape for extra protection of exposed wiring.
As part of your repair efforts, an oscilloscope can also help determine whether there are any wiring or connection issues between your sensor and the car’s computer. By testing continuity between terminals of your sensor, an oscilloscope allows you to test for continuity between them. It can help pinpoint whether any wiring or connection problems exist between the sensor and the computer.
Once you’ve inspected your wiring harness and sensor, you can begin working on them. First, unscrew and loosen the bolt that secures the CKP sensor to its housing using firm wiggling or twisting motions to loosen it from its place in its housing. Be careful not to pry too hard, as doing so might damage either the sensor itself or its O-ring seal that prevents oil from exiting its hole. Once that step is completed, install your new sensor while connecting its wire and tighten all necessary nuts/bolts according to torque specifications before tightening down nuts/bolts until all torque specifications have been reached and tightened properly!
Remove the Crankshaft
Crankshaft Position Sensors (CPSs) are minor components that directly send magnetic information about your car’s engine module to its ECM (Electronic Control Module). This information helps the ECM make adjustments that maximize performance and fuel efficiency. If you notice Check Engine lights, erratic engine behavior, or misfiring, replacing your Crankshaft Position Sensor could be the answer.
Find it: In your car’s engine block or behind its transmission bell housing (referring to its service manual for specific location instructions). Generally speaking, sensors are mounted in brackets attached by bolts or nuts; before replacing your sensor with one of a new model, it’s essential to remove both by loosening each one with an 8 mm socket and pulling off.
Once the nut has been unfastened, you can disconnect and remove the sensor quickly. Be careful not to damage its connectors or sensor when doing this; using a long pick may help clear any obstructions out of the way. Once done, use automotive cleaner and motor oil to clean it all before reassembling.
After installing your new sensor, reconnect any wires, components, or connectors you had to unplug to access it. Use electrical tape or zip ties to secure its wiring harness to keep it from contacting moving parts or hot surfaces.
Finally, reset any DTCs triggered while working on your car. Re-reconnect the battery, start your engine, and go on a test drive to ensure any problems have been addressed.
Regular inspections of your crank sensor, its wiring reluctor ring, and teeth on the crankshaft can help detect potential issues before they arise. Furthermore, keeping your engine bay tidy may reduce stress on your sensor and connector, allowing them to operate optimally.
Remove the Sensor
An inaccurate crank position sensor or wire can lead to serious engine stalling issues, expensive repairs if left unchecked, and engine damage requiring costly repairs and engine rebuilding. To protect against crank sensor failure and avoid expensive repairs and engine damage, it’s essential to conduct regular maintenance and inspections of the crank sensor(s).
Faulty crankshaft position sensors can be challenging to diagnose and repair. To simplify things, it is a good idea to follow a diagnostic procedure that involves testing both the sensor and the wiring/connector for wear and tear signs. Inspecting reluctor rings/teeth on the crankshaft the sensor uses as reference points can also help ensure they remain free from potential damage.
As part of the diagnostic process, it is first necessary to disconnect the battery to avoid electrical mishaps when working on the wiring harness. This can be accomplished using a multimeter or similar device. Once this step has been taken, remove the sensor from its mounting location by loosening the bolt or using a long pick to facilitate it. Once detached from its place, the new sensor can be replaced with an appropriate connector.
Before installing a new sensor, it is wise to coat it in clean motor oil to protect it from corrosion, moisture, or dirt that could potentially harm it. The test should be conducted following installation, and the engine computer code should be cleared to ensure its proper function.
As part of their service record, it is wise to purchase sensors with factory warranties from dealers that come equipped with full details on how to claim them in case of problems with the vehicle. Also vital is keeping service records proving that a dealer provided genuine repairs.
Remove the Harness
Engine management systems rely on input from various sensors for proper functioning. One such sensor is the crankshaft position sensor. It feeds information back to the engine computer about its rotational position. It allows the ECM (electronic control module) to calculate engine speed and cylinder position before firing fuel injectors and ignition coils at optimal times for maximum performance and efficiency. If its output signal becomes incorrect due to corrosion on reluctor rings attached to crankshafts or improper wiring interferences, your engine could experience stalling or misfires;
To determine whether the sensor or ECM is at fault, an oscilloscope or multimeter should be used to investigate its electrical circuit. A two-wire crankshaft sensor features signal and ground wires; to test for AC voltage, connect one probe of your multimeter to each wire – red to signal wire, black search to ground. When functioning correctly, your voltmeter should pulsate between 0-5V.
Corrosion, a broken reluctor ring, a broken sensor tip, or inaccurate output signals could cause an improperly functioning crankshaft position sensor. Conducting a visual inspection of your wiring harness for damage or deterioration will help detect problems early. Any loose components should be sealed or replaced as soon as possible.
After visually inspecting the wiring harness for signs of damage, you can begin unhooking it from the crankshaft position sensor. This should be easier if all pulleys and accessories have been removed, as this gives unimpeded access to the bolt that holds it in place. Once loosed, you can unscrew its nut to unplug its wire from the engine harness using an extension and ratchet if necessary – then clean and lubricate this part before installing a new sensor.